16. Daily Usage - General
One of the great things about Checkout is that the way it is setup and designed allows for a fast workflow. There should be very little training required to get somebody up and running in a store. Everything is designed so that it is right there in front of you, and with a click of a few buttons, you can go from creating purchase orders to receiving payments on an invoice to entering new customers.
16.1 Great Features
As with most applications, shortcuts are your friends. Take some time to learn these shortcuts and you may never need to touch your mouse to enter orders or receive payments. The system also implements a live spotlight search that seeks out whatever you are typing AS you are typing. If you want to find an order that you KNOW included a specific product, key in that product name or code, and as you’re typing, the system will seek out all orders with that product on it. A fast, simple to use tool that helps you to run your store more efficiently.
16.2 The Main Screen
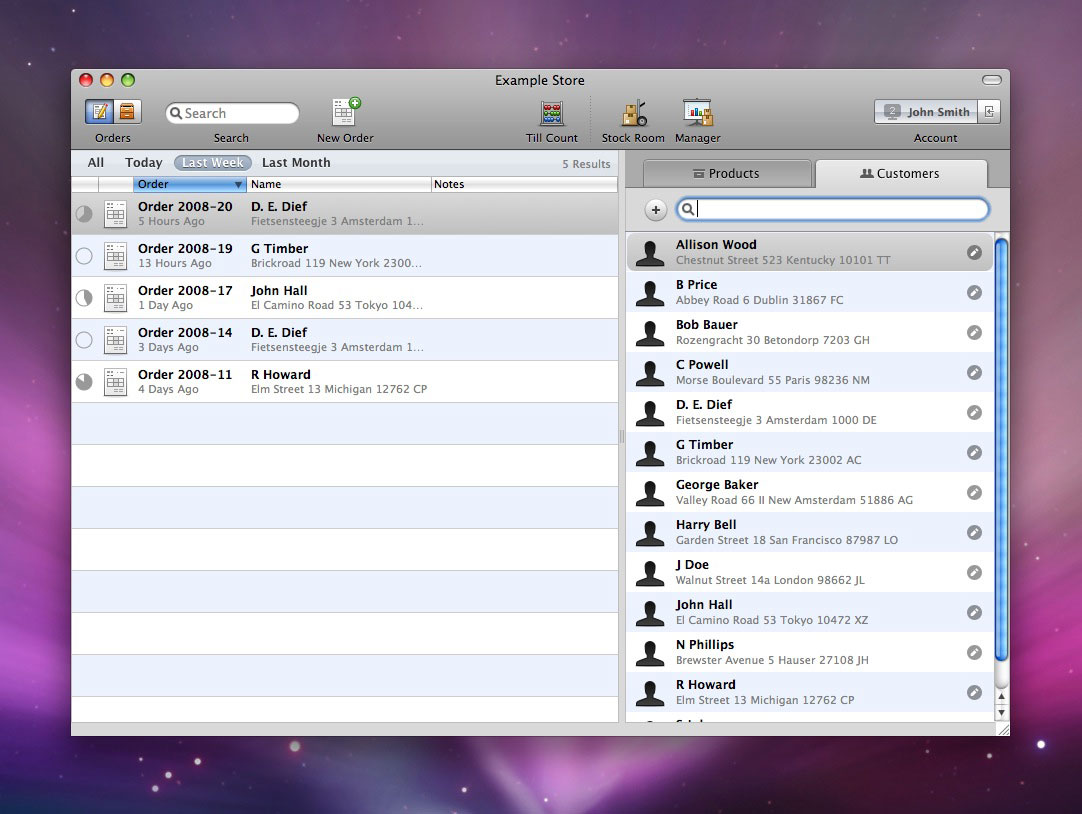
When you open your store, the main screen is split. The left side of your screen will show a listing of quotes, orders and invoices. You can filter them with the search bar or you can sort them by order number, customer name and even the notes that were entered on the transactions. The right side of your screen will show you your list of products, and a second tab will show you a list of your customers. Again, these can be filtered through with an easy to use search option. When creating an order or quote, you can either double click or drag on a customer name or item to add it to the transaction.
16.3 The Life-Cycle of Orders
As with most things, there is a beginning, a middle and an end to the life-cycle of an order. The first step is the creation of an order. This is done by clicking on the New Order button at the top of your menu. From there, you will add a customer and a product or products to the order. When this has been completed, it is time to allocate the products. To do so, click on the Allocate button at the bottom portion of the order screen. This will take physical stock from your inventory, and allocate it to the order. If you have sufficient stock on-hand, the order will be fully allocated. If you are short of stock for a specific item or items, the system will allocate what is available, and then leave the order open for the remaining pieces. You can invoice the order at any point after allocating stock to the order. However, if any products have not been allocated on the order, an invoice will be created for the allocated portion ONLY, and the original order will be kept open until all items have been allocated. Once all products on an order have been allocated and the order is changed to an invoice, you can receive payment on that invoice, closing it out.
Table of Contents
- Welcome to Checkout
- About this Manual
- The Welcome Screen
- Registering Checkout
- Set Up Your Store
- Managing Your Store
- Managing Your Store - General
- Managing Your Employees
- Managing Your Products
- Managing Your Taxes
- Managing Your Suppliers
- Managing Your Templates
- Managing Your Reports
- Managing Your Ledger
- Logging In
- Daily Usage - General
- Daily Usage - Managing Orders
- Daily Usage - Managing Invoices
- Daily Usage - Managing Customers
- Daily Usage - Till Count
- Stock Room