19. Daily Usage - Managing Customers
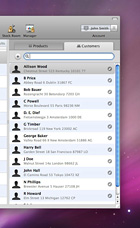
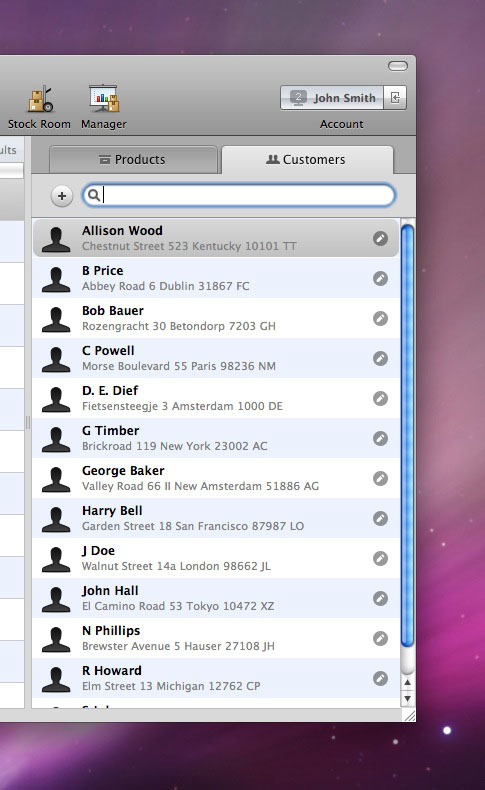
Your customer list can be found on the right side of your main screen by clicking on the Customers tab. This list will show all customers sorted either by last name or first name, depending on the preference selected in the General Options of the Manager Window.
19.1 Adding a New Customer
To add a new customer to your store, click on the plus (+) button to the left of the Search Customers bar. This will open the Customer Inspector. Here, you will enter some general information such as the customers name, address and company. When you are satisfied with the information in this window, click the CLOSE button and they will appear in your customer list.
19.2 Editing an Existing Customer
To edit an existing customer, click on the pencil to the right of their name in the customer list. This will again open the Customer Inspector. The Address, Contact Information and Extra Info fields can all be collapsed or expanded by clicking on the arrow to the left of the field header. At the top, you can edit the customer name, the company he or she works for and the tax identification number, should you require it. Remember that you can turn on the option to atuomatically capitalize customer names by going to the Manager Window and selecting the General option and then clicking on the check-box option to automatically capitalize customer names. You can edit their current address in the second section. Their phone and fax number, as well as their email address can be edited in the third section. In the fourth section is Extra Info. That field is hidden by default because it may contain private information that you may not want your customers to see. This field shows the total number and amount of orders and invoices, and how much, if any is left unpaid on invoices. It also provides employees with a Comments field to add notes about the customer for other employees to view. These notes are able to be searched via the live spotlight search on the main screen.
19.3 Customer Report and vCard Export
Checkout Point-of-Sale software makes it easy to keep contacts up-to-date within your Apple Address Book. To send a customer contact to your Address Book, simply select the customer and then go to FILE > EXPORT > SELECTED CUSTOMER TO vCARD. You can also send ALL of your customers to your Address Book by going to FILE > EXPORT > ALL CUSTOMERS TO vCARD. You can get an overview of your customers from the report menu, too. Go to the Manager Window and choose the Reports option. From there, choose the Customers option. This report will show you a breakdown of all of your customers, the total number of invoices, the total amount of sales and the total margin on those sales, all broken down by customer.
19.4 Deleting an Existing Customer
To delete an existing customer from your customer list, click on their name to highlight them, and then press the delete key on your keyboard. Please note that only one customer can be deleted at a time. You will be prompted to verify that you wish to delete that customer. You cannot undo a deletion, so be sure that you are deleting the contact that you wish to delete. When you click the DELETE button, that customer will be removed from your list. Please note that a customer with open orders cannot be deleted. You will first need to delete the open orders to proceed with the deletion of the customer.
Table of Contents
- Welcome to Checkout
- About this Manual
- The Welcome Screen
- Registering Checkout
- Set Up Your Store
- Managing Your Store
- Managing Your Store - General
- Managing Your Employees
- Managing Your Products
- Managing Your Taxes
- Managing Your Suppliers
- Managing Your Templates
- Managing Your Reports
- Managing Your Ledger
- Logging In
- Daily Usage - General
- Daily Usage - Managing Orders
- Daily Usage - Managing Invoices
- Daily Usage - Managing Customers
- Daily Usage - Till Count
- Stock Room